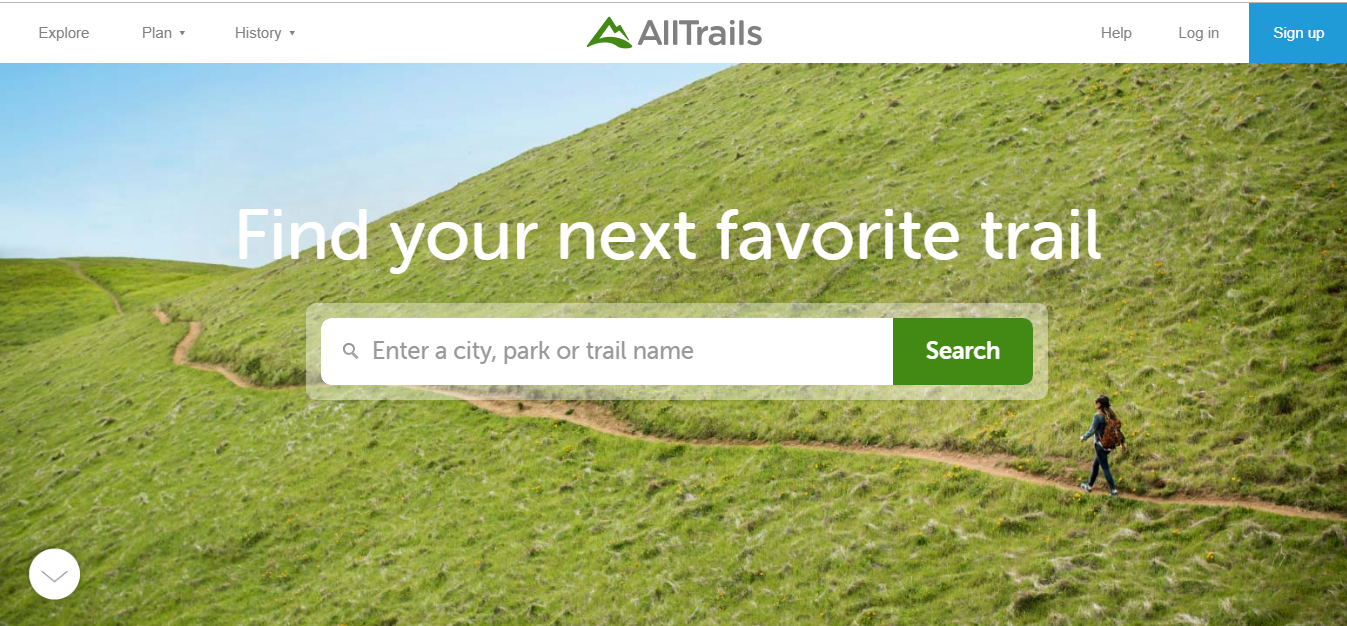
So you want to get outside but you have no idea where to go or how to choose the best trail for a hike??? My answer for you is the All Trails App. I use the free version & it has become an invaluable tool in helping me choose which hikes to go on with the kids. It stays updated really well, gives good directions & it has helped me plan all of my trails in advance. I have searched for trails by using my zip code to see what’s near me, typed in a specific park I would like to visit, mileage I want for the day, & I’ve even done a backpacking search for trails with primitive campgrounds. There are a lot of different ways to use the app, but here are the 5 main ways I utilize the app for day hiking to figure out where in the heck to go.
1. Read the Description:
I always start with the description of the trail to get the mileage, if it’s a kid friendly hike (sometimes a pet friendly hike for our little guy), if there is an overlook, waterfall, lake or some feature that will make the trail exciting for the kids. I will go through trails & save the ones I think will work the best for us in the Favorites section. I currently have 35 hikes saved that I want to complete!
2. Read the Reviews:
Here’s a great example on why I read the reviews of each trail I want to visit. I bought a book from Hobbs State Park about the best kid friendly trails to take kids on in the state of Arkansas. It’s a great resource & gave me a lot of trails to look up, especially the ones that are not inside state parks. I looked up one of the non-state park trails from the book on the app because it was on privately owned land & I wanted to know more about it. But guess what??? A mother black bear & her cubs had moved on to the trail, so it is indefinitely closed. The book was published 12 years ago, it obviously couldn’t have been updated. The All Trails app is current & had the trail marked as closed, but it was the reviews that let me know why.
Another example, one of the parks we visit frequently in our beautiful state of Arkansas closes for a few days a couple times of year for deer season. I had no idea! Had I not seen this listed in the reviews of All Trails & been able to call the state park, my son & I would have wasted our time driving out to the park only to find it not open. The state park’s visitor center was so helpful when I called too! And they LOVED that I had taken the time to call & check on trail safety (I recommend visiting the visitor center at any park you visit- they are a wealth of information.)
Other times, the reviews are helpful in telling you where to stop for the fun stuff, where to eat, if the trails have been extra muddy due to rain, if it’s not as hard or as easy as you think it will be for the kids. I always enjoy reading from actual hikers what the trail conditions are instead of only relying on the description.

3. Look at the Pictures:
If the reviews haven’t given me the best description I need for the trail, the photos always do. The photos are how I’ve found the overlook on certain trails & stopping points for food. Plus, you get so pumped when you start seeing the photos of all the beautiful things you’re going to see!
4. Check the directions:
I’m sure this one is obvious, BUT, there have been times I’ve read through the description, the reviews, the photos & I have myself so excited for the trail I’ve picked but when I check the directions on how to get there I find out the trail is further away than what I wanted. This has allowed me to choose another trail if I needed to pick one closer to home OR I have been able to plan a bigger hiking trip & taken into account that it’s a 2.5 hour drive vs a 1 hour drive. It’s always best to know ahead of time!
5. Look at the Map:
Last but not least, I always check the map. I like to know if it’s a loop (I personally prefer loops), if it’s an in & back out trail, see the trail head, & other features. Also, if I have cell service, I am able to track where we are on the trail. I’ve used this plenty of times when I have melting down kids who are ready to be finished & I can show them where we are and how far we have to go before we are finished. It does help them to see our progress!

The app has so many different features you can utilize that I highly recommend you check it out. As we start hiking more & also exploring out of state, I can see me upgrading to the Pro version of the app. The features of the pro app are incredible, from allowing you to download maps to your phone so you can track where you are without cell service to printing those maps, sharing locations, & more. It would be worth the lifetime $99.99 (or you can pay yearly for $29.99). Right now, I am great with the free version because I live in the area & know the parks pretty well. But I will be happy to upgrade when it’s time!
If the All Trails app isn’t a resource you’ve ever used before, I highly recommend it! It will open up your ability to explore!
What are your best ways you use the All Trails App?
[…] hiker or heading out to the backcountry for days, weeks or months at a time. Start small, pick a trail you feel comfortable with from the All Trails App, & then head out. Build your experience one trail at a time & as your confidence grows you […]